# 1. Log In to the Backend
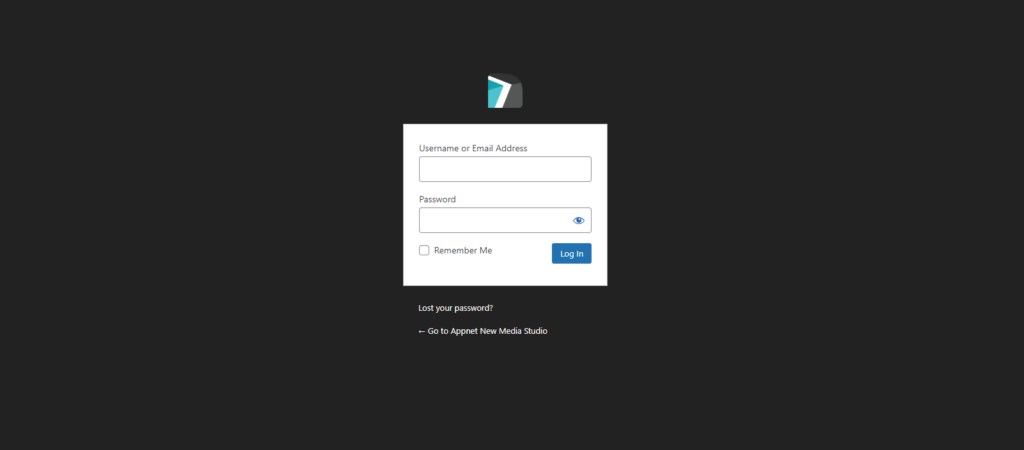
Your Appnet support representative has sent you your username and password to access your website.
In order to log in to your website, you have to go to yourdomainname.com/wp-admin
Input your username and password, then click “Log In”.
# 2. Click on the Products Tab
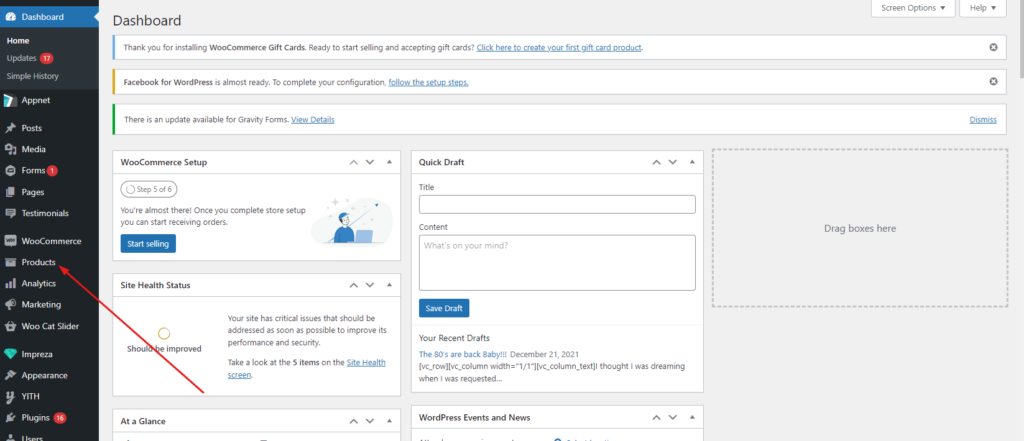
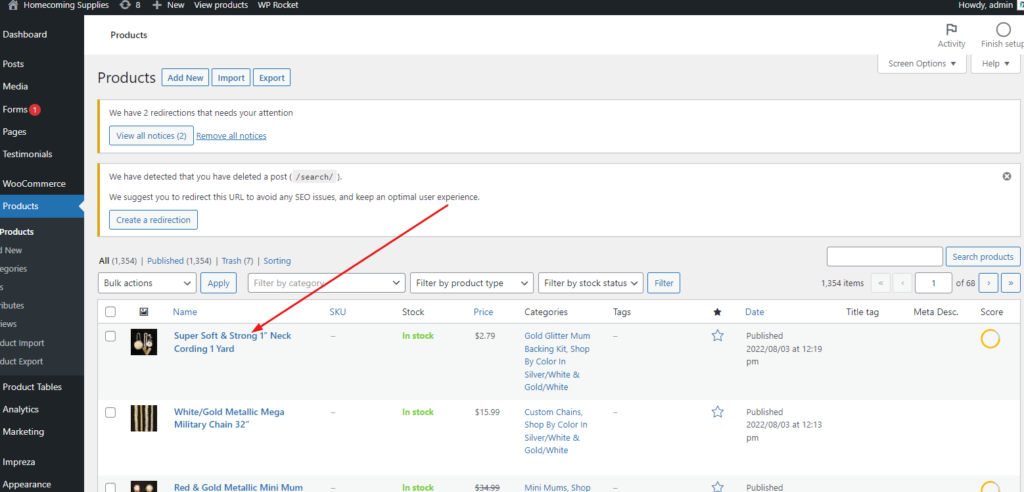
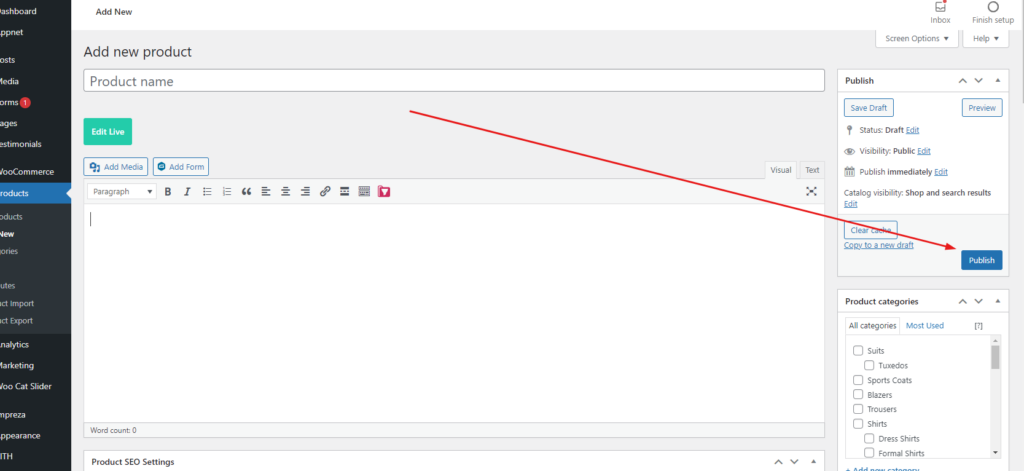
Now that you are in the backend of your website, you can see the different tabs on the left-hand side. Click on the tab named “Products”.
# 4. Add the Inventory Information
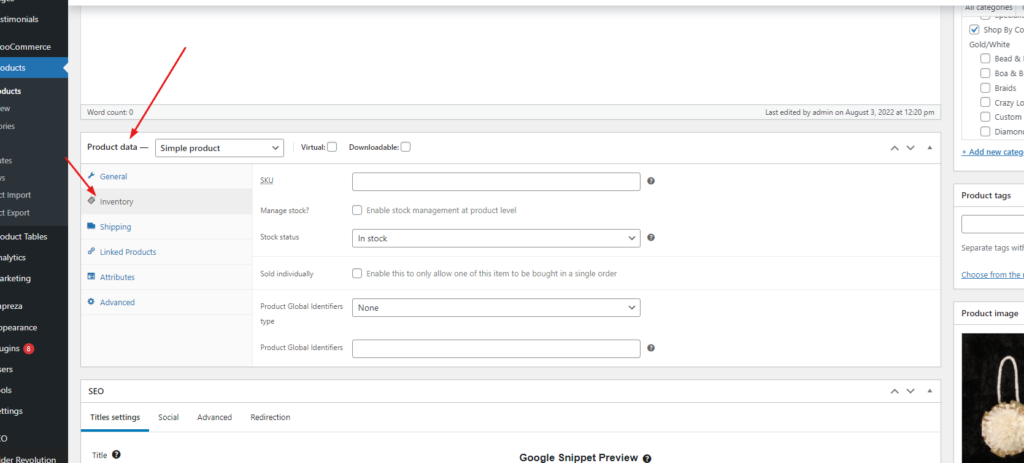
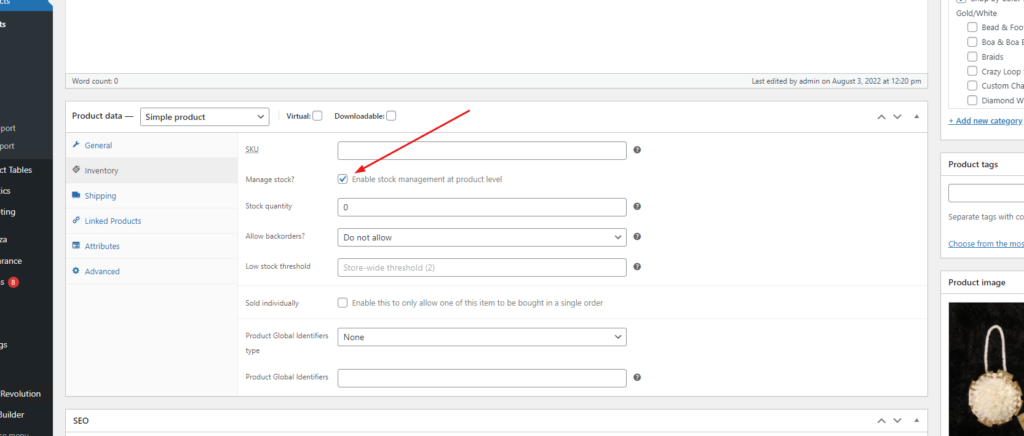
The first field on the “Product Data” box is the box that says “SKU”. If you have an unique identifier for your product, place that sequence here.
Clicking the checkbox for “Manage Stock?”, will allow you to keep up with your quantity of products through the website.
# 5. Manage Stock
The first product box is “Stock Quantity”. Enter in your current amount of stock here. Note: This stock quantity will go down with each purchase in the website. If you sell items in person or through a different platform, that will not change this stock quantity number. You will have to come back and change it manually.
The next box is “Allow backorders?”. If you “Allow”, then your product quantity can go below 0 units. If you “Do not allow”, then no one will be able to purchase if you have 0 units available = out of stock.
The next box is “Low stock threshold”. Enter in the number of units that you would like to be informed if it goes below. For example, if the number of available units goes below 2 units, you will be notified via email.


