# 1. Log In to the Backend
Your Appnet support representative has sent you your username and password to access your website.
In order to log in to your website, you have to go to yourdomainname.com/wp-admin
Input your username and password, then click “Log In”.
# 2. Click on the Testimonials Tab
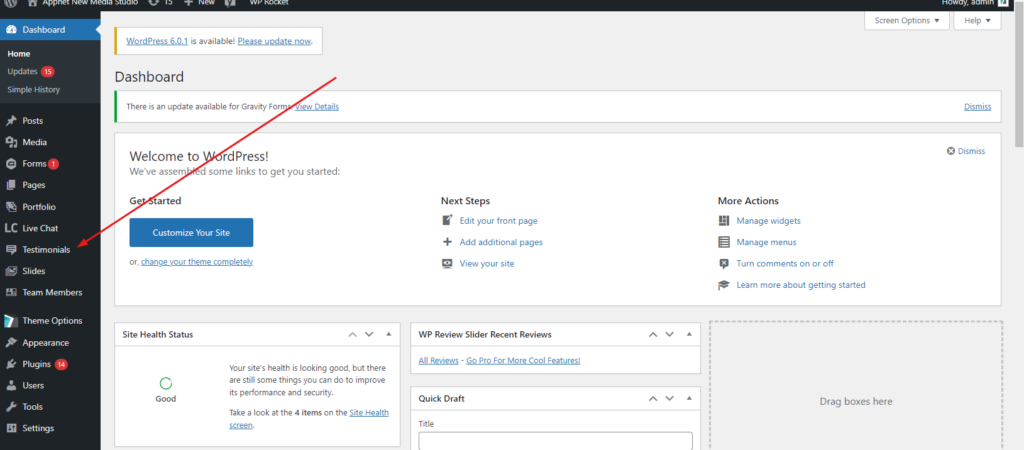
Now that you are in the backend of your website, you can see the different tabs on the left-hand side. Click on the tab named “Testimonials”.
# 3. Click “Add Testimonial”
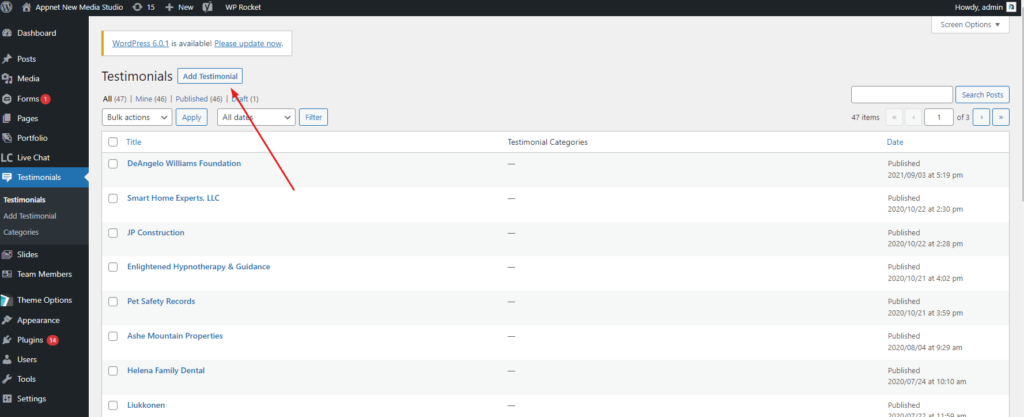
In order to add a new testimonial, click on the “Add Testimonial” button. This button may also say “Add New” in your dashboard.
# 4. Add Name and Testimonial
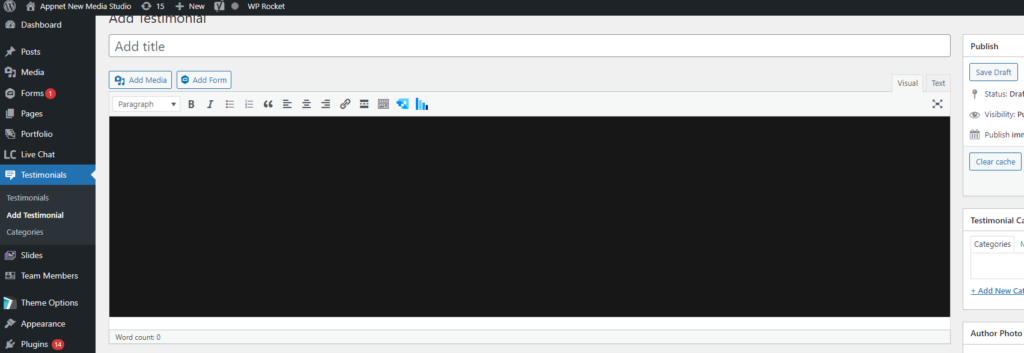
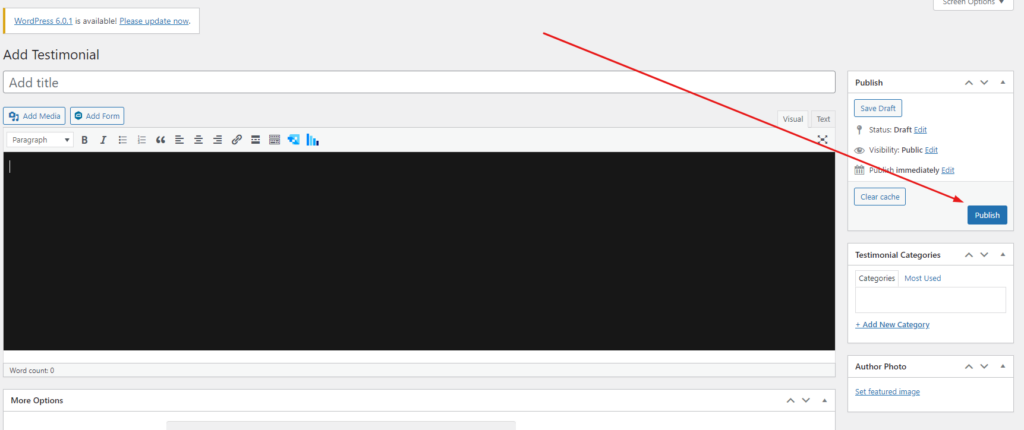
The first field on this page is the box that says “Add title”, this is where you are going to add the author’s name.
Once that is completed, the next box is where you should input the actual review or testimonial.
# 5. Add More Information
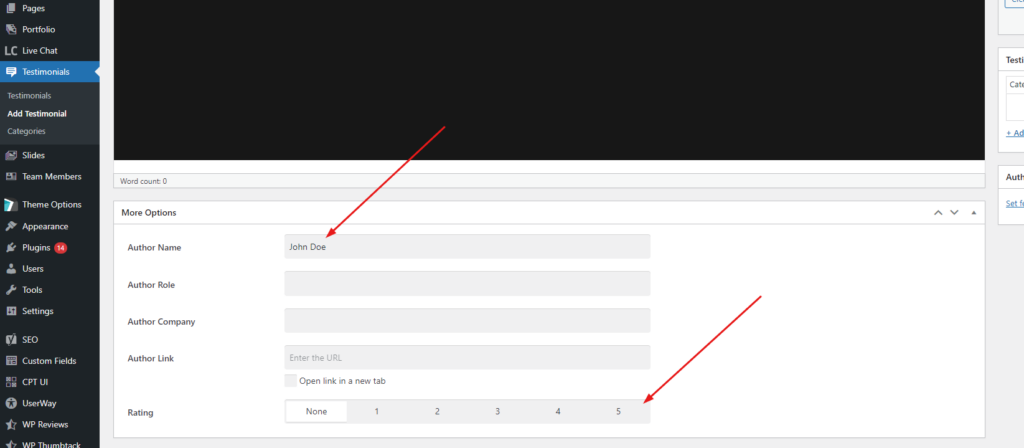
This section holds more identifying information of the reviewer/author. You should always input the Author Name. The rest of this information is optional.


