# 1. Log In to the Backend
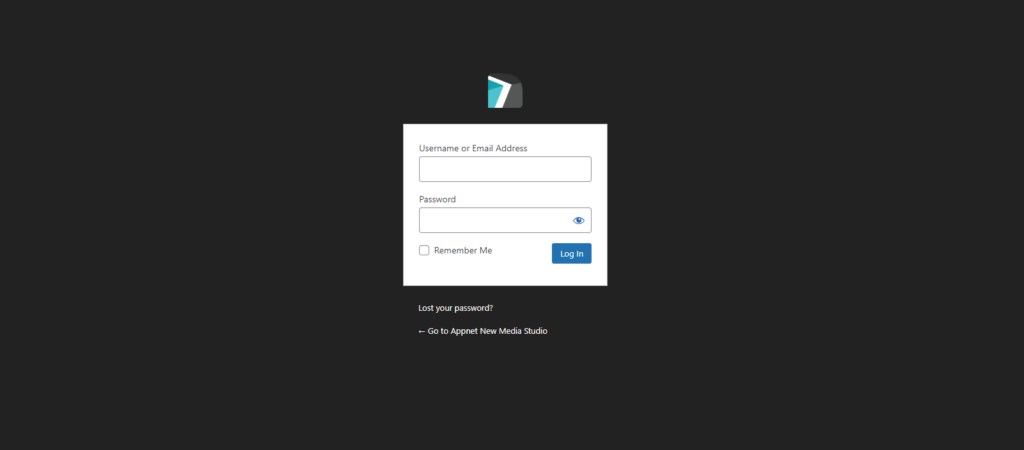
Your Appnet support representative has sent you your username and password to access your website.
In order to log in to your website, you have to go to yourdomainname.com/wp-admin
Input your username and password, then click “Log In”.
# 2. Click on the Products Tab
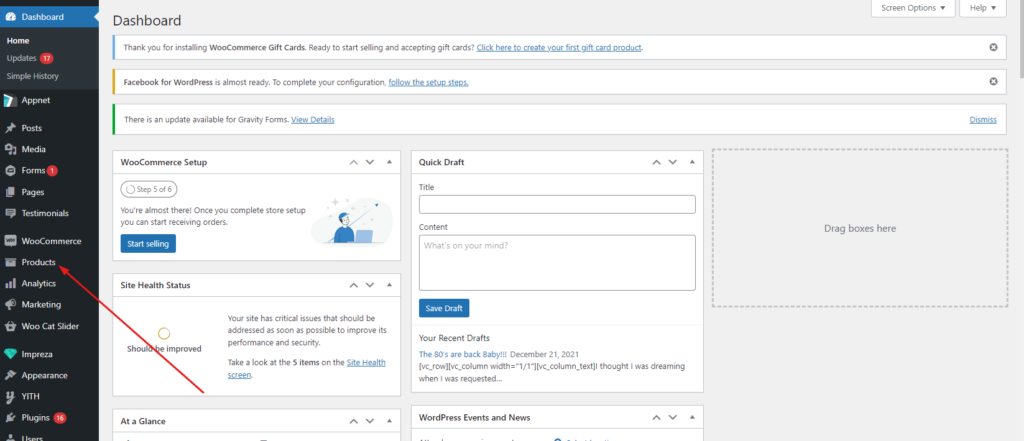
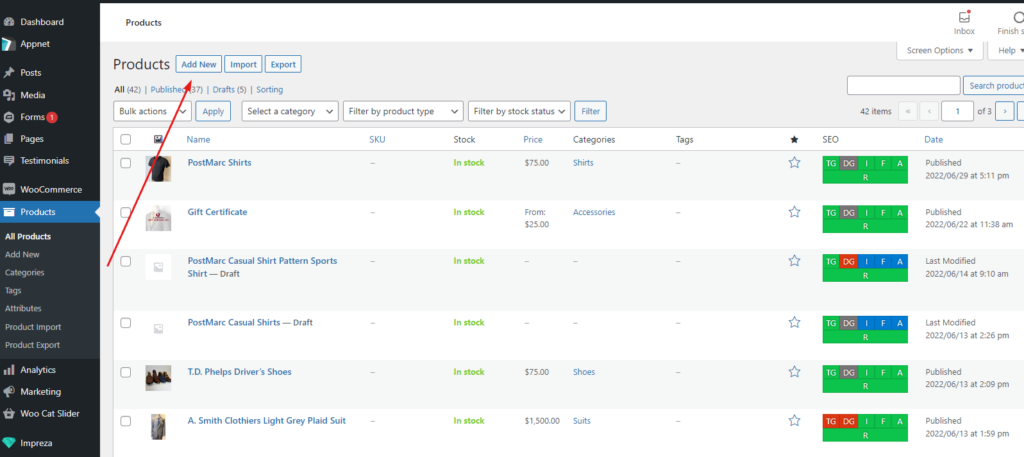
Now that you are in the backend of your website, you can see the different tabs on the left-hand side. Click on the tab named “Products”.
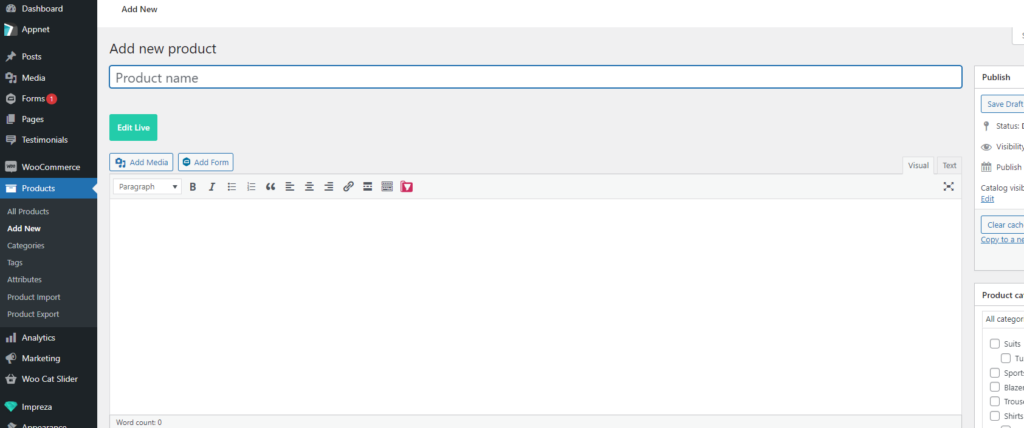
# 4. Add the Product Name and Description
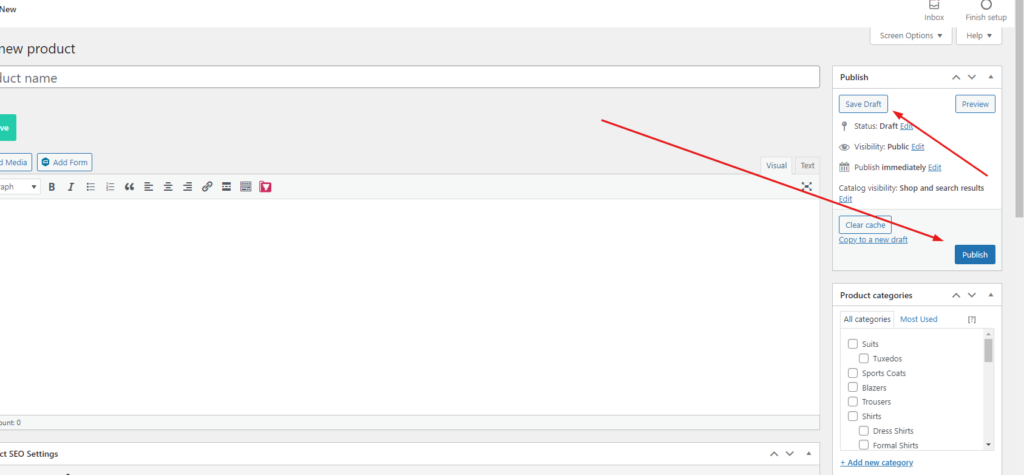
The first field on this page is the box that says “Product Name”, this is where you are going to add the name of your product.
Once that is completed, the next box is where you should input the description of your product. This description should include all important information that the purchaser should understand.
# 5. Select a Category for your Product (if applicable)
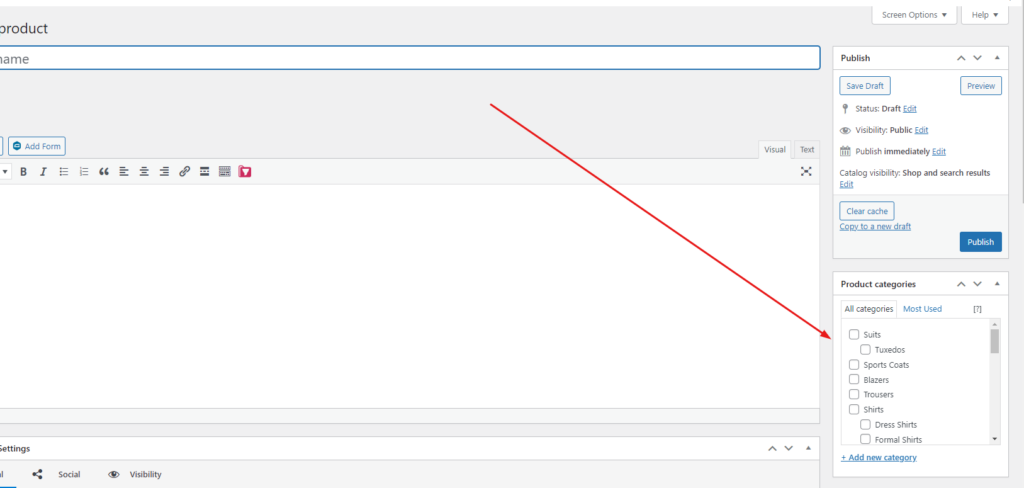
To the right of the description that you just entered, there is a box titled “Product Categories”. Make sure you select the category that the product you are entering belongs to.
If there are no product categories within this box, but you would like to add categories, click here.
# 6. Set a Product Image
Under the Product Categories box, there is a “Product Image” box. Click “Set Product Image”.
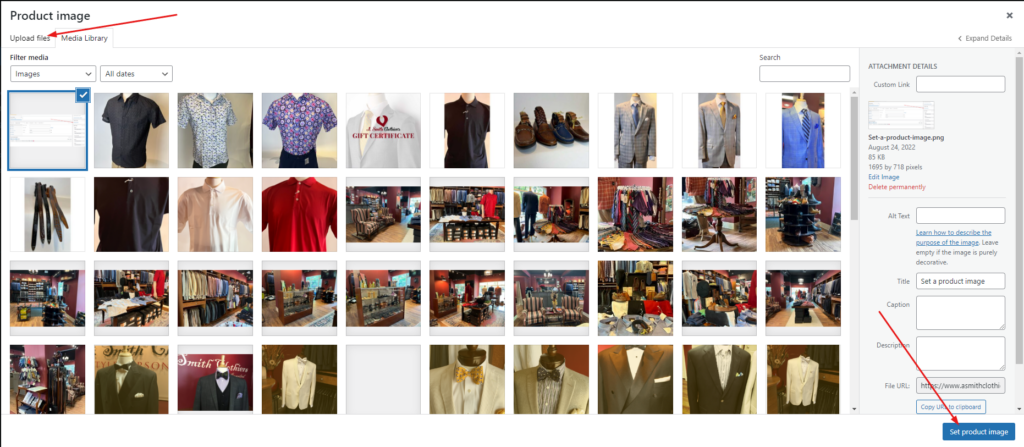
The media gallery box will pop up. You can either select an image from what you see in front of you
OR
You can look at the top of the media gallery box and select “Upload files” to add a new image. Drag and drop your new image into the box. Once uploaded, select “Set product image” on the bottom right of the media gallery box.
# 7. Set a Price for your Simple Product
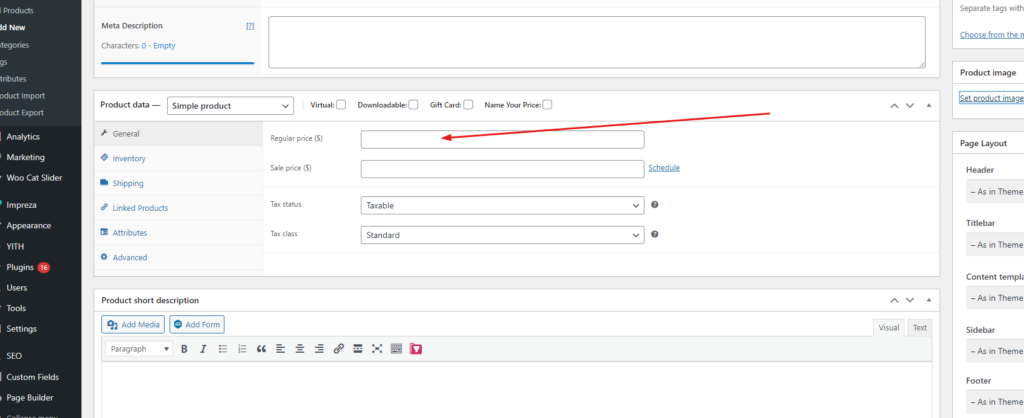
Scroll down until you see the box titled “Product Data”. There are two options for adding the price in this box: regular and sale price. Input your regular price here. If you have a sales price that you would like to show, add the sales price next.

