# 1. Log In to the Backend
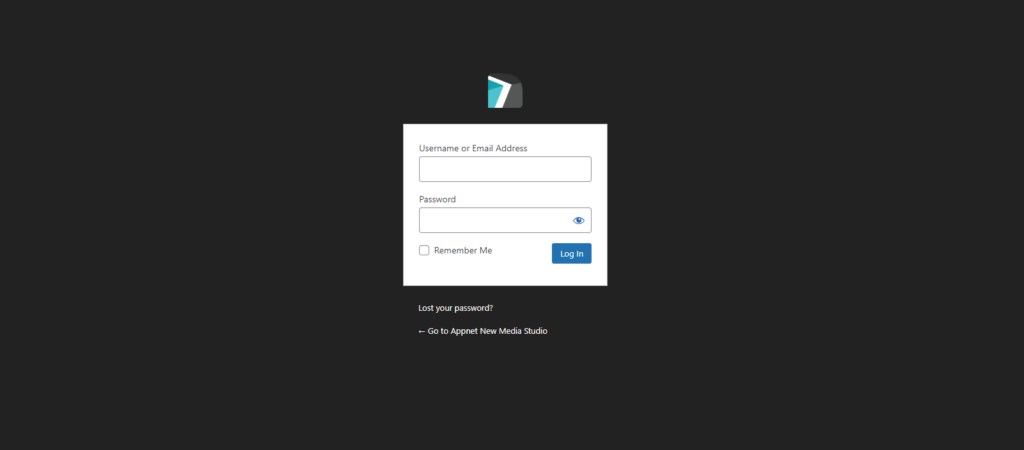
Your Appnet support representative has sent you your username and password to access your website.
In order to log in to your website, you have to go to yourdomainname.com/wp-admin
Input your username and password, then click “Log In”.
# 2. Click on the Products Tab
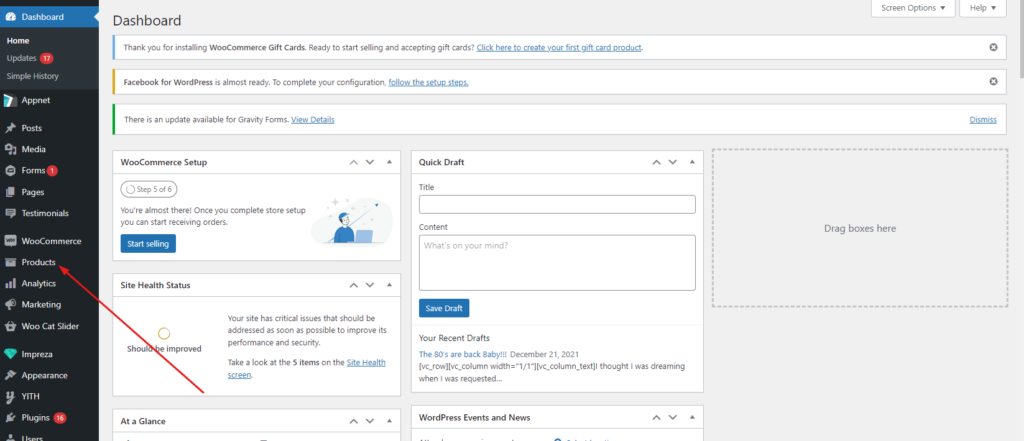
Now that you are in the backend of your website, you can see the different tabs on the left-hand side. Click on the tab named “Products”.
# 3. Click “Categories”
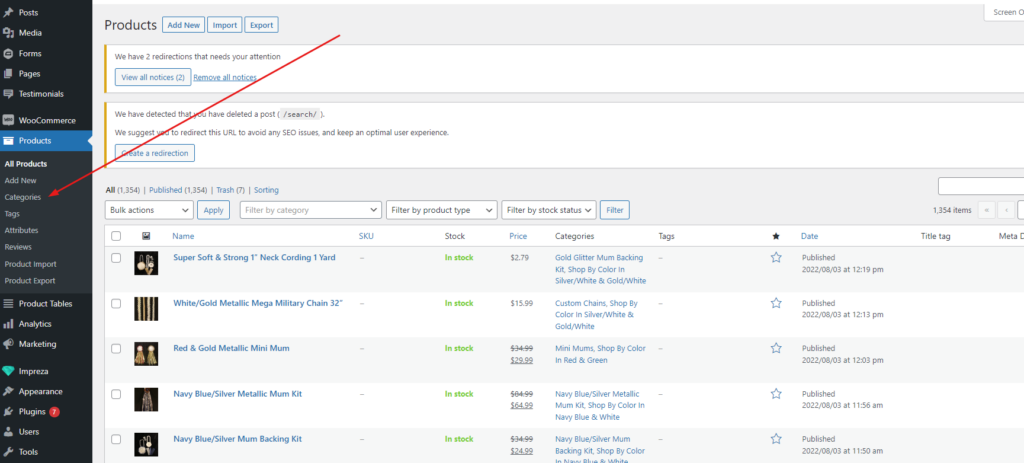
Underneath the Products tab, there are additional clickable items. Click “Categories”.
# 4. Add the Category information
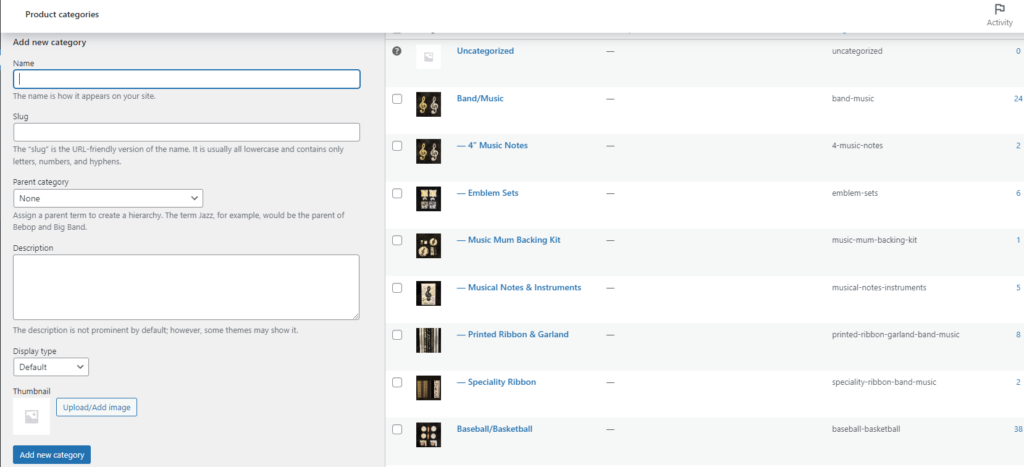
The first field on this page is the box that says “Name”, this is where you are going to add the name of your Category.
The next box “Slug” will fill automatically when you add the category. No need to put anything in this box.
The next box is “Parent Category”. If you are creating a subcategory, meaning a category within a category – select the parent category from the dropdown. If you are trying to create a main category, skip this step.
The next box is “Description”. Input a category description, if you choose to have that information on your website. *Your website may not be set up to display this type of information on the front end.
Skip over the next box “Display Type”.
The next box is “Thumbnail”. Click Upload/Add image if your website displays images for categories. Select an image, then click “Use Image”.
The next item on the page is a button “Add New Category”. Click this once you are completed adding in information.

