# 1. Log In to the Backend
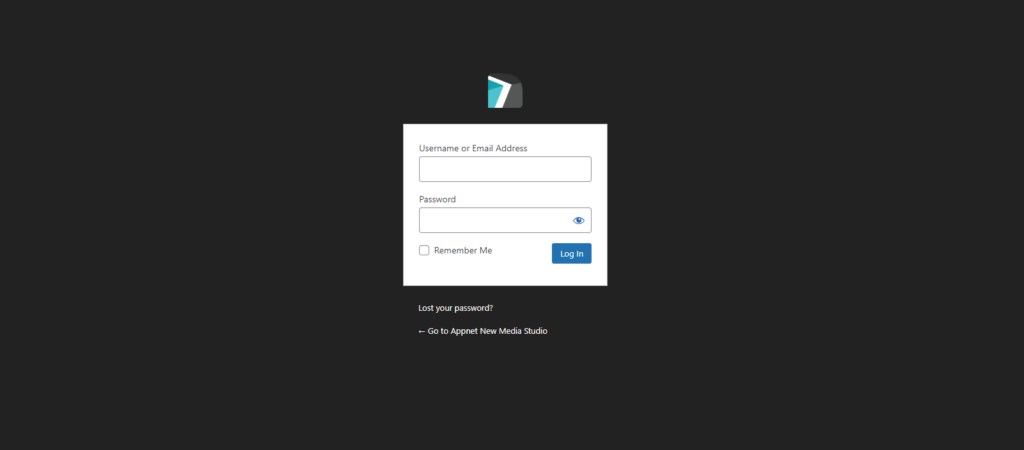
Your Appnet support representative has sent you your username and password to access your website.
In order to log in to your website, you have to go to yourdomainname.com/wp-admin
Input your username and password, then click “Log In”.
# 2. Click on the Posts Tab
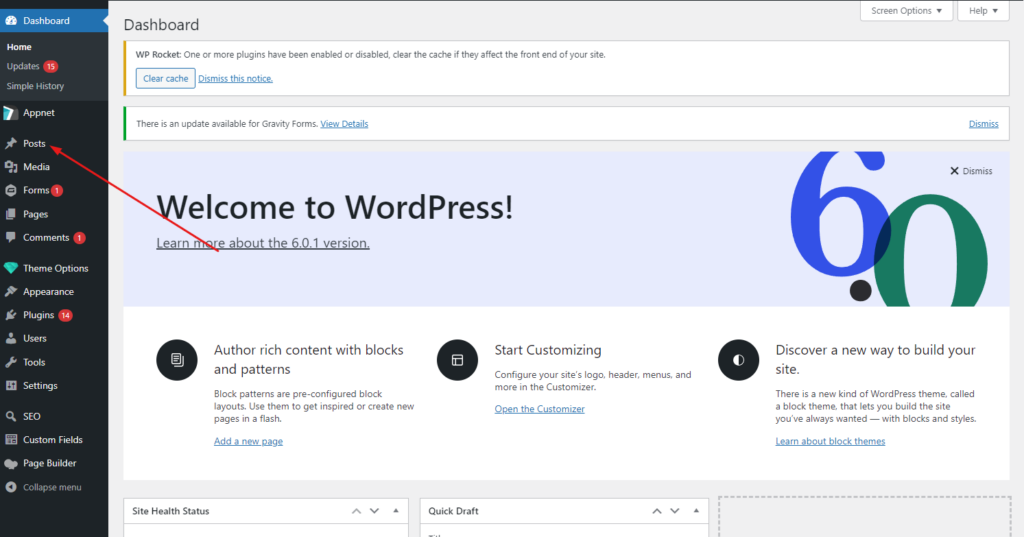
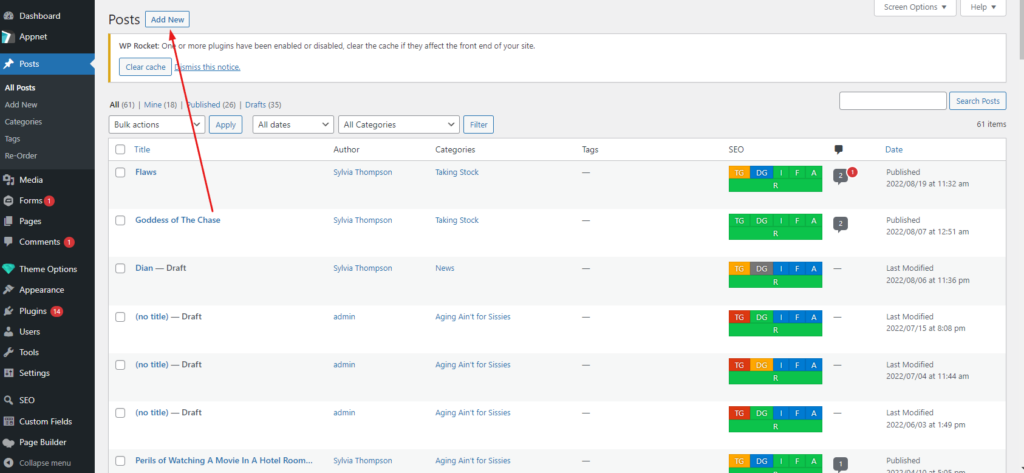
Now that you are in the backend of your website, you can see the different tabs on the left-hand side. Click on the tab named “Posts”.
# 4. Add the Title
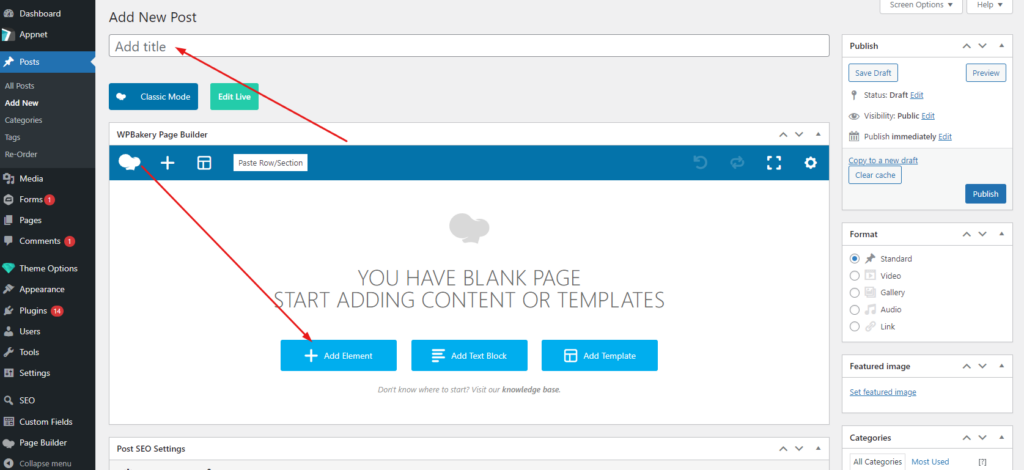
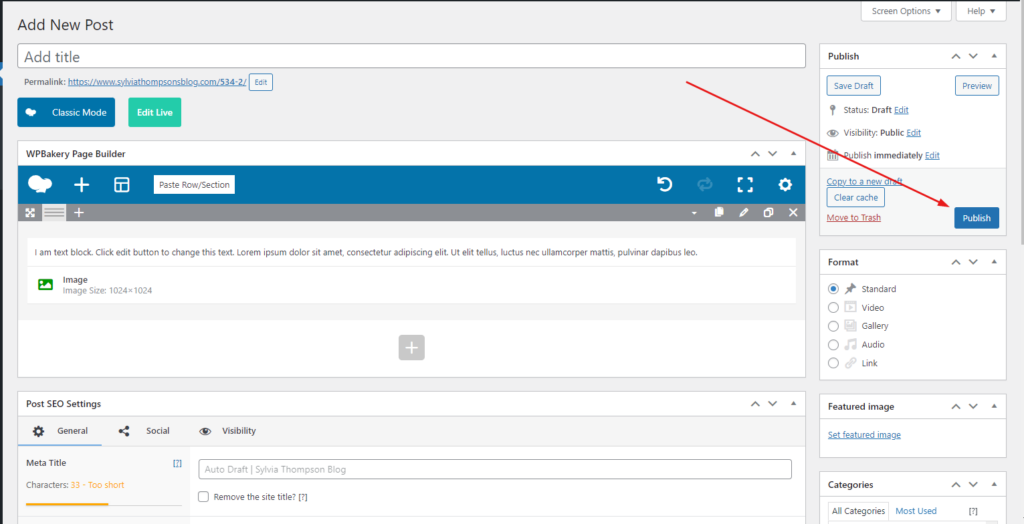
The first field on this page is the box that says “Add title”, this is where you are going to add the title of your new blog.
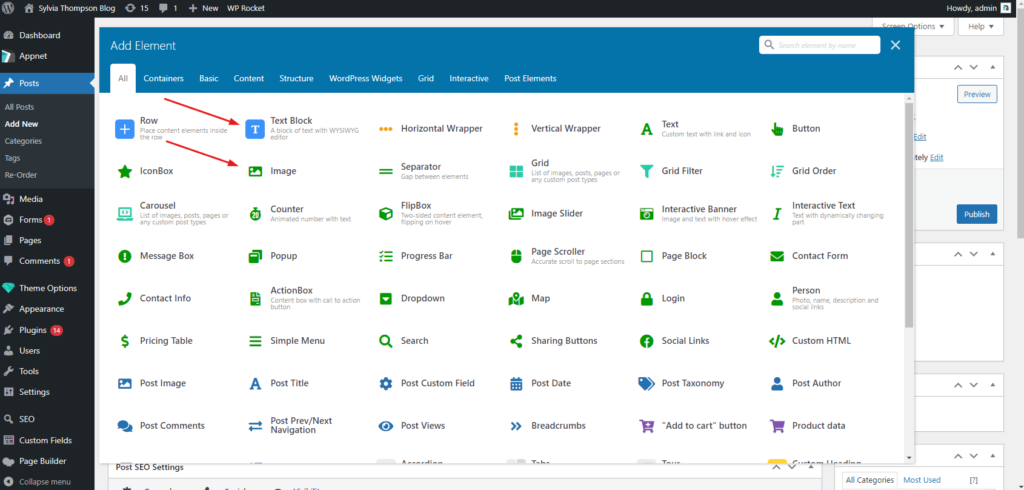
Once that is completed, the next box is where you should click the + button.
# 5. Add Text, a Button, or Both!
Add one element at a time. Whichever you want to show up first, you should click on first.
# 6. Adding a Text Block
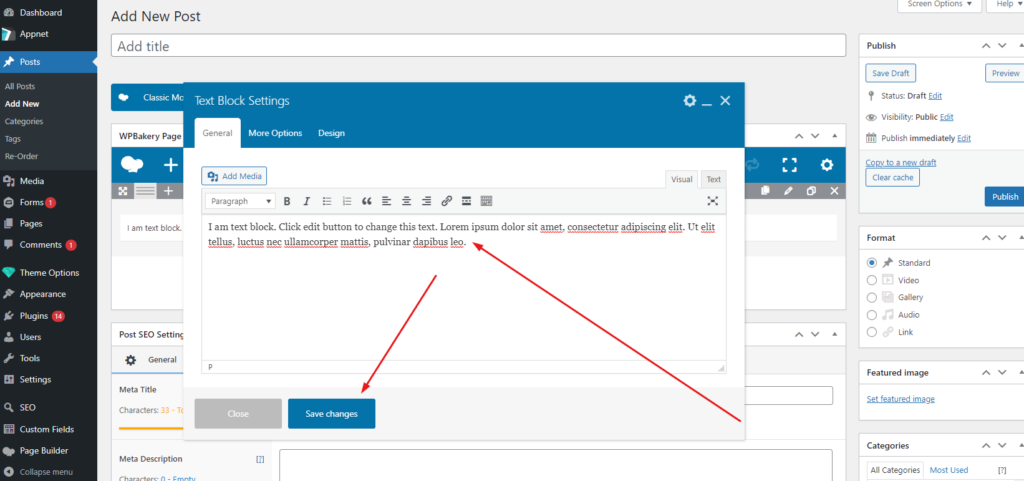
Once you click on the text block element, the Text Block Settings will pop up. In this open box, you can delete the text that is there and start typing whatever you wish. Once you are finished typing, click [Save changes].
# 7. Adding an Image
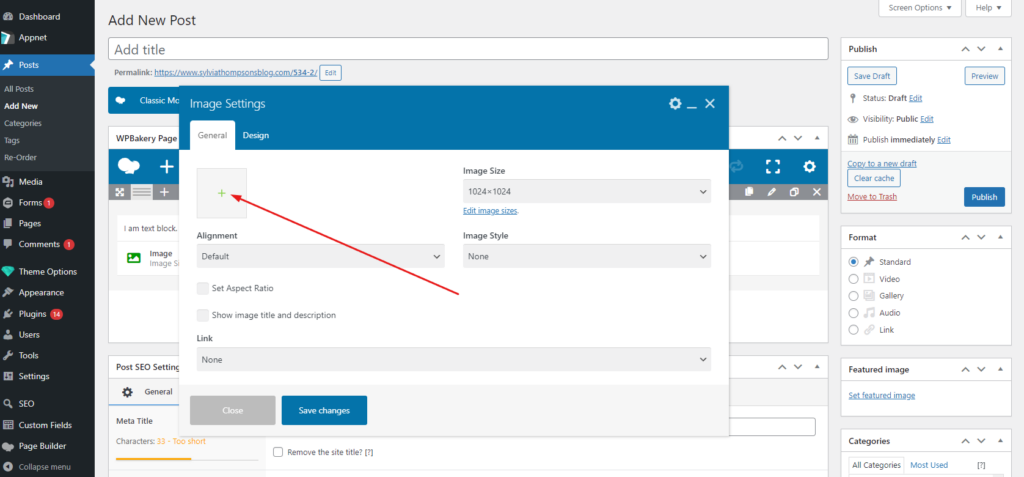
Once you click on the image element, the Image Settings will pop up. In this box, you will see a tiny square with a green +. Click on that square.
Once you click on it, the “Set Image” box will pop up. Either select the image from your available images in the gallery, or select “Upload Files” in the top left and drag and drop an image on your computer.
Then click “Set Image” on the bottom right. This will save the image and then take you back to the “Image Settings”, click the [Save Changes] button when completed.


