# 1. Log In to the Backend
Your Appnet support representative has sent you your username and password to access your website.
In order to log in to your website, you have to go to yourdomainname.com/wp-admin
Input your username and password, then click “Log In”.
# 2. Click on the Pages Tab
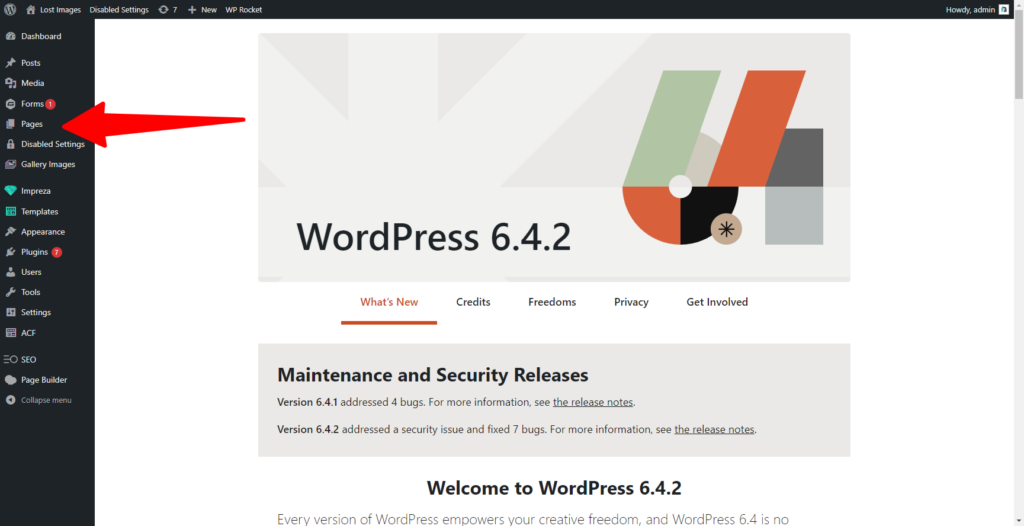
Now that you are in the backend of your website, you can see the different tabs on the left-hand side. Click on the tab named “Pages”.
# 3. Click on the page that you need to edit
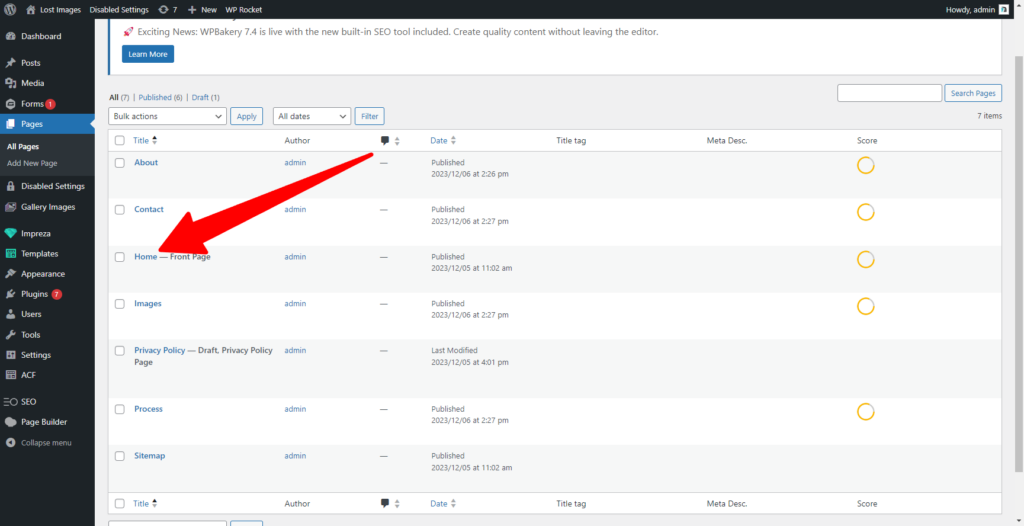
Click on the title of the page that you want to edit the pictures on. In this case, we are editing the Home page.
# 4. Image placement is in the COLUMN
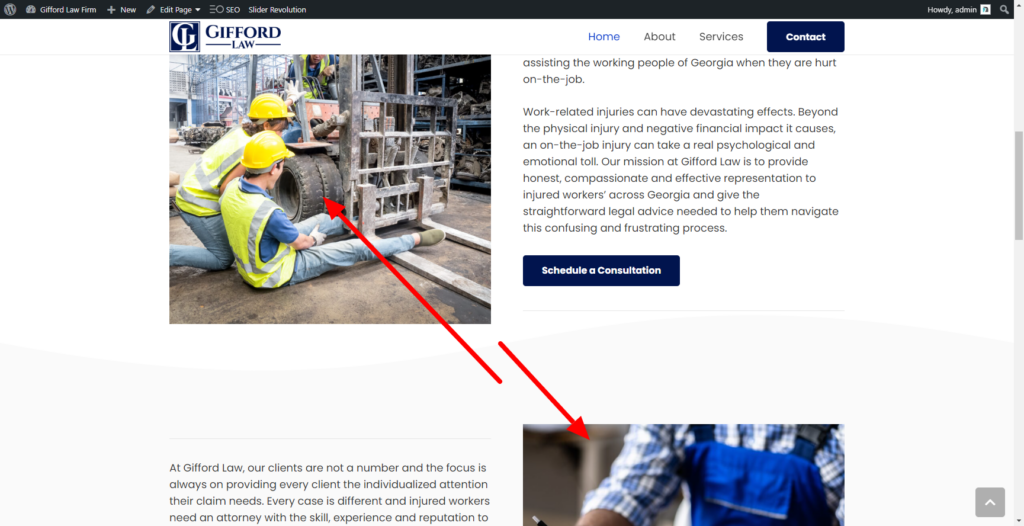
There are a few different ways that our designers will place images. If a picture is only taking up a portion of your screen, then it is most likely located in the COLUMN. This picture is a picture that is located in the COLUMN.
If your image is going all of the way left to all of the way right – taking up your whole screen, click HERE to read more about how to change this.
# 5. Edit the Image
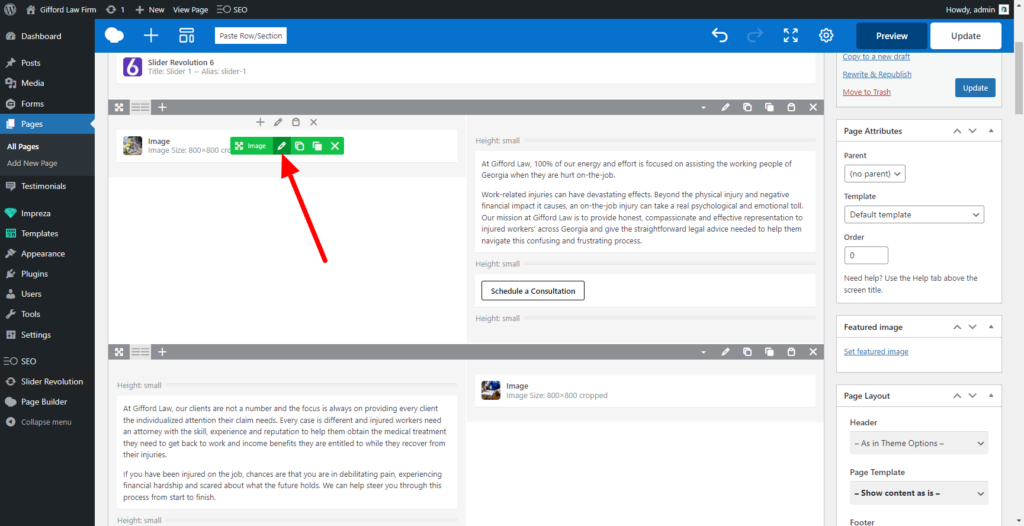
Follow the arrow on this picture and view the pencil button which means edit. Click on the pencil button and a smaller window will pop up on your screen.
# 5. What if I don’t see the “Image” there?
If your website looked like the picture above, move to the next step.
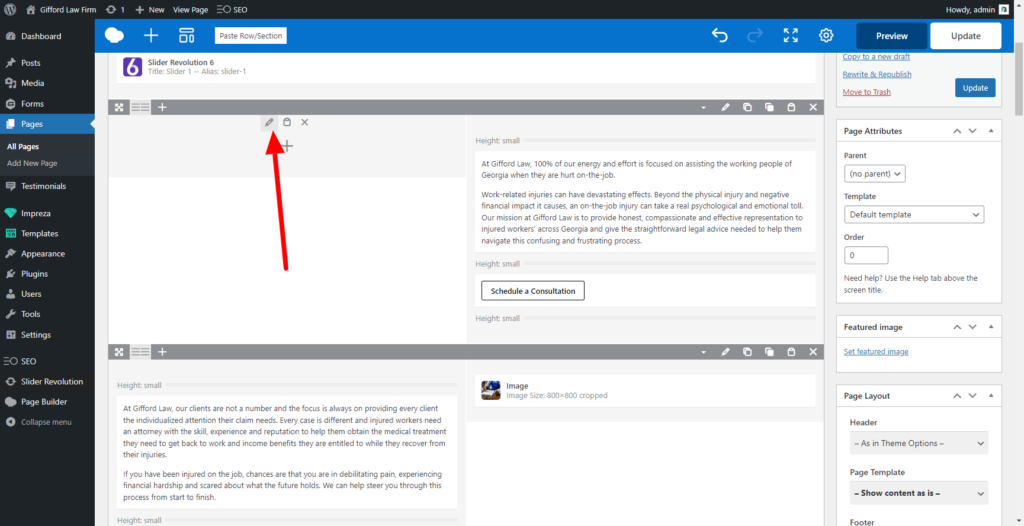
If you do not see the “Image”, and there is a blank space with just a column. Then you need to click the pencil button on the COLUMN, pictured here.
Now, “Column Settings” will pop up on your screen in its own window. Navigate to the “Design” tab amongst the tabs at the top of this window, then click Background.
# 6. Swap the picture
In order to now swap out the picture, click the X over the picture (or the trashcan), then click on the +.
# 7. Add the picture
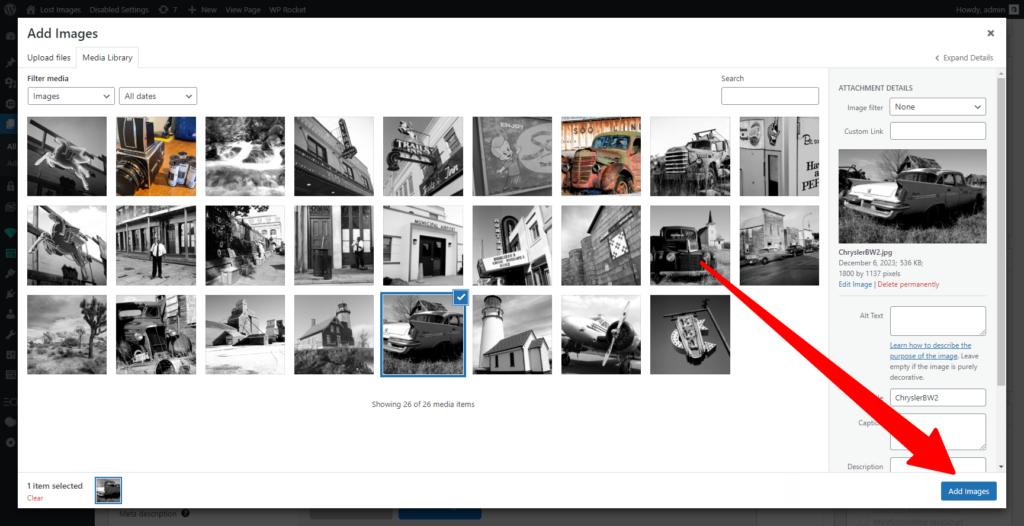
Drag and drop your new image into this section. Alternately, you can select “Upload files” in the top left to bring up your folders to select the image.
If your image already exists in the media gallery, then click on the new image.
Once selected, click on the bottom right button “Add Images”.
# 8. Save Changes
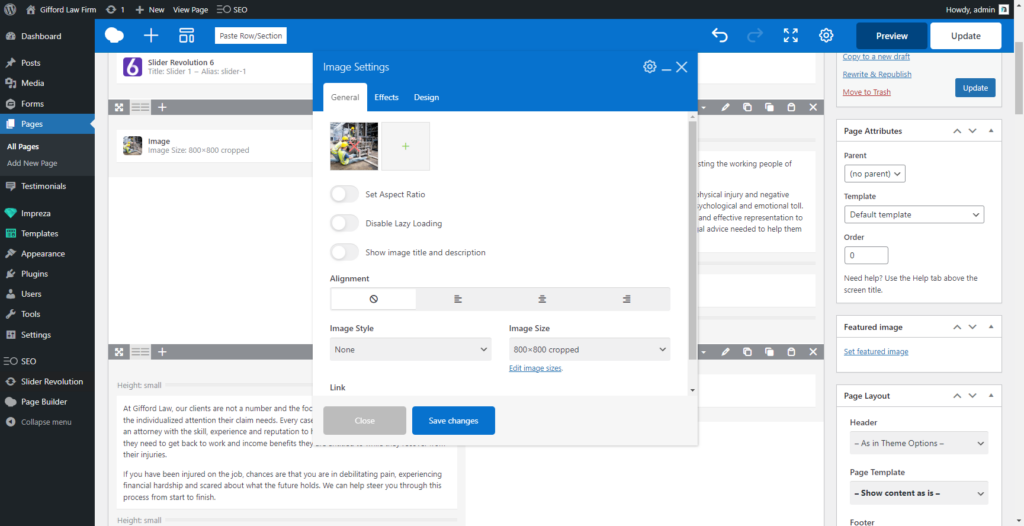
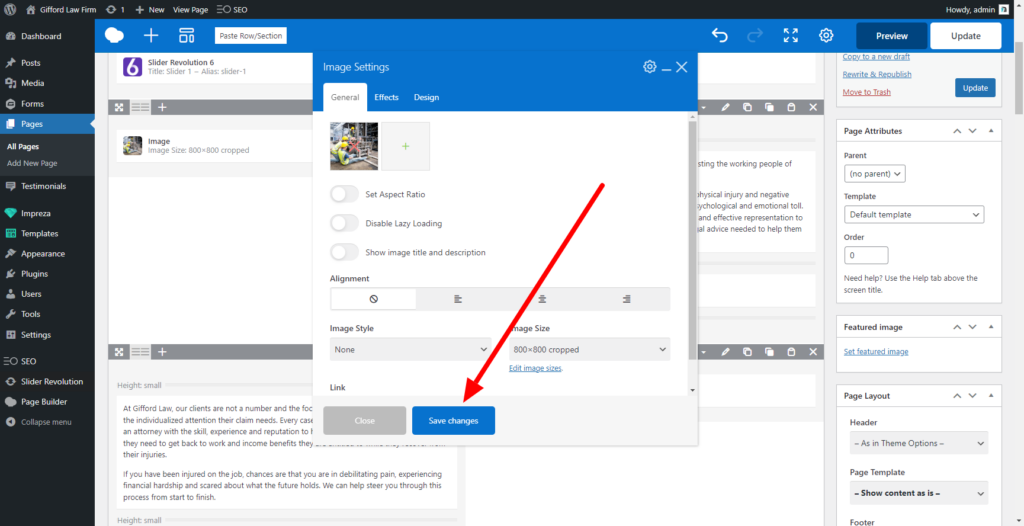
The image on this pop up window will now reflect your new image.
Click “Save Changes”.

